Creating the Sanctum Logo in Blender 4.1
Hello!
Today is the day (March 24th, 2025) I FINALLY chose to go through with making this site a reality! I wanted to come up with a super cool theme, and after an hour or so got a good feel for the coloring and style, except it was missing one more thing…
A name!
Of course, it’s typically a better practice to name your portfolio something not so mysterious and kind-of haunting…
But I went ahead and did it anyways!
Sanctum is the name I decided on, as it’s still freshly in my mind ever since I made my previous 3D piece (which I had created for my Java/JOGL + OpenGL game engine in one of my classes), whereas the name was “Ghoul’s Sanctum” (Ghoul is the name of one of my original characters I plan on using in my web series / upcoming game).
Anyways, after I decided on the name I now needed a logo with said name; so, I went straight to Blender and got to work!
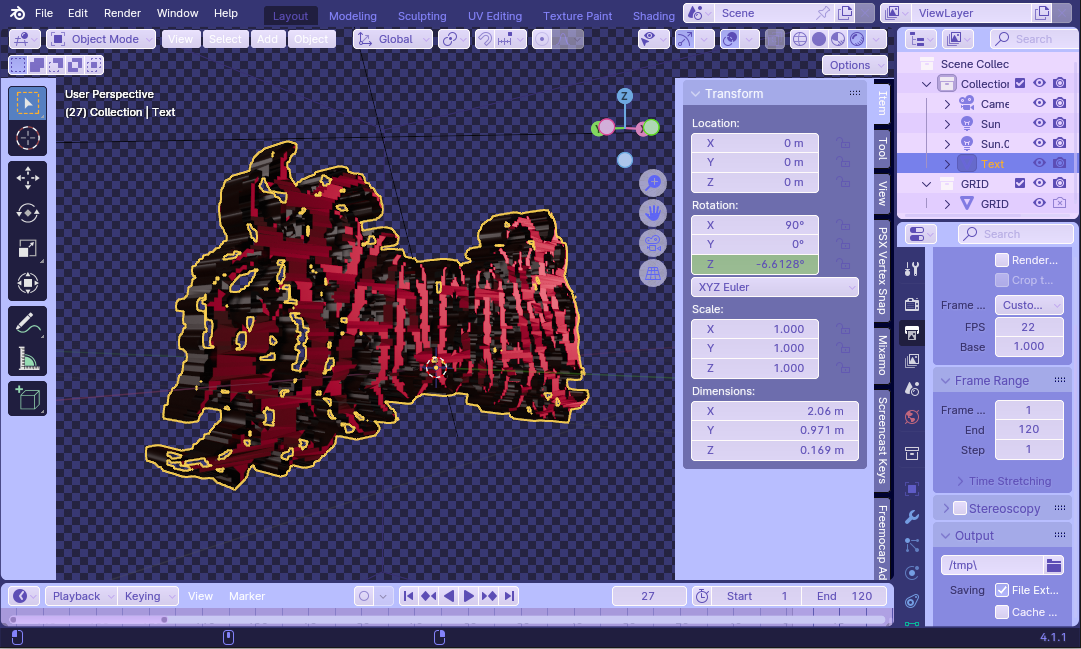
The process is honestly not too difficult at all; you really just use the text tool, extrude it, maybe smooth it out under the Bevel tab, pick out a cool font, convert it to a mesh, and wa-lah! The 3D text is already made.
The most time-consuming part of the process, honestly, was trying to find a good font and also finding the “Private Access” glyphs of the font (to get the letters with the spikes back towards the left instead of all of them being curved to the right).
Once that was done though, I just created a couple lights, one being white and one being that deep red color…
After I rendered it as an image sequence with a transparent background, I took it to ezgif.com to turn it into a gif; I also turned the contrast way up and changed the hue a bit to change it to that sick pink-ish color in post.
And… that’s it! It’s really that “simple” (if you know what you’re doing already - I myself have been doing this kinda digital FX stuff since 6th grade lol), but yeah!
Thanks for reading the post, hope it helped you maybe learn something new about my process or helped you out in your own creation process! :3